At The Father's House we have JUST completed the third building on our main campus that introduces three new meeting rooms, kids programming on the weekend and adult programming during the week. With three campuses, off-site offices, and about a dozen devices needing content delivered to them we needed a device that enables us to work smarter and faster. We've been using a Synology NAS to cloud files between campuses and have recently refined our system.
Synology makes networked attached storages (NAS) with a proprietary OS that is accessed over IP or internet through a web browser. Synology also makes several apps for MacOS and Windows, one of which is Cloudstation which functions identically to Dropbox and Google Drive apps. The functionality and ease that Synology gives speeds up our workflow a great deal. With certain models of their NAS's, expandability is as easy as adding a 4 bay rack space device to it.
We utilize the "Shared Folders" feature inside of the Synology NAS to sync assets for all of our services and ministries as well as background CG loops. The folders currently being synced are:
Weekend Drop: assets pertaining to weekend (adult) services for all campuses.
The Cloud: assets pertaining to mid week services and special events (i.e. Celebrate Recovery, Youth Service, Weekly Prayer Services, Conference, etc)
Recurring Assets: drop for digital slide systems for all campuses and all buildings. These synced folders are setup as "hot folders' inside of ProPresenter on our digital signage Mac Minis.
CG: One way sync folder to push newest worship loops to all CG systems this folder is one way sync so that no campus can delete or move assets in the file structure.
Service Review: We record service on Blackmagic Design Hyperdeck Studios as well as a an h.264 recorder. The h.264 file gets synced to our Pastors and Production staff systems so they can review and critique our services.
Here is a sync map we drew before we deployed the Synology NAS.
A couple notes on how we operate:
- At all of our campuses we run internal SSD's for MacOS and external thunderbolt or USB 3.0 storage enclosures for all of our assets. Our externals have separate partitions for our asset storage file structure and synced drop folders. The reason for this is because when drop files from the sync drive to the asset drives it automatically performs a copy instead of a move.
- We do not directly load assets from the synced folders (except for digital signage systems and CG loops) straight into ProPresenter. We first drop off of the assets from our synced folders into our asset drives locally so that nothing accidentally get moved or for some reason ProPresenter breaks the link to the file.
- We separate weekend drop from ministry sync to prevent any file deletion by ministries/events not staffed by weekend volunteers or production staff.
You can achieve the same sync with Dropbox, Google Drive, etc. We chose to go with an on site device as we have the most systems on our main campus and wanted to sync over network vs web for those devices.
Feel free to give us a shout below if you have any questions!
What we're using:
Synology RS814 (they have since discontinued and are now selling RS815 and RS815)
4x Seagate 4TB IronWolf NAS HDD
This year for our Encounter youth Summer Camp we used MadMapper to control Chauvet Epix strips. MadMapper is a simple but powerful tool to map projection and lighting. MadMapper uses the Syphon framework to use video content from another program such as PVP2, ProPresenter, Resolume, or any other program that supports syphon.
Just to preface, this guide was how i setup Chauvet's EPIX Strips with Mad Mapper. If you are using MadMapper with any other type of fixture you'll need to adjust according to your specific situation.
Before mapping any of the LED strips we first made a simple 'to scale' template in photoshop of where the strips were to be oriented.
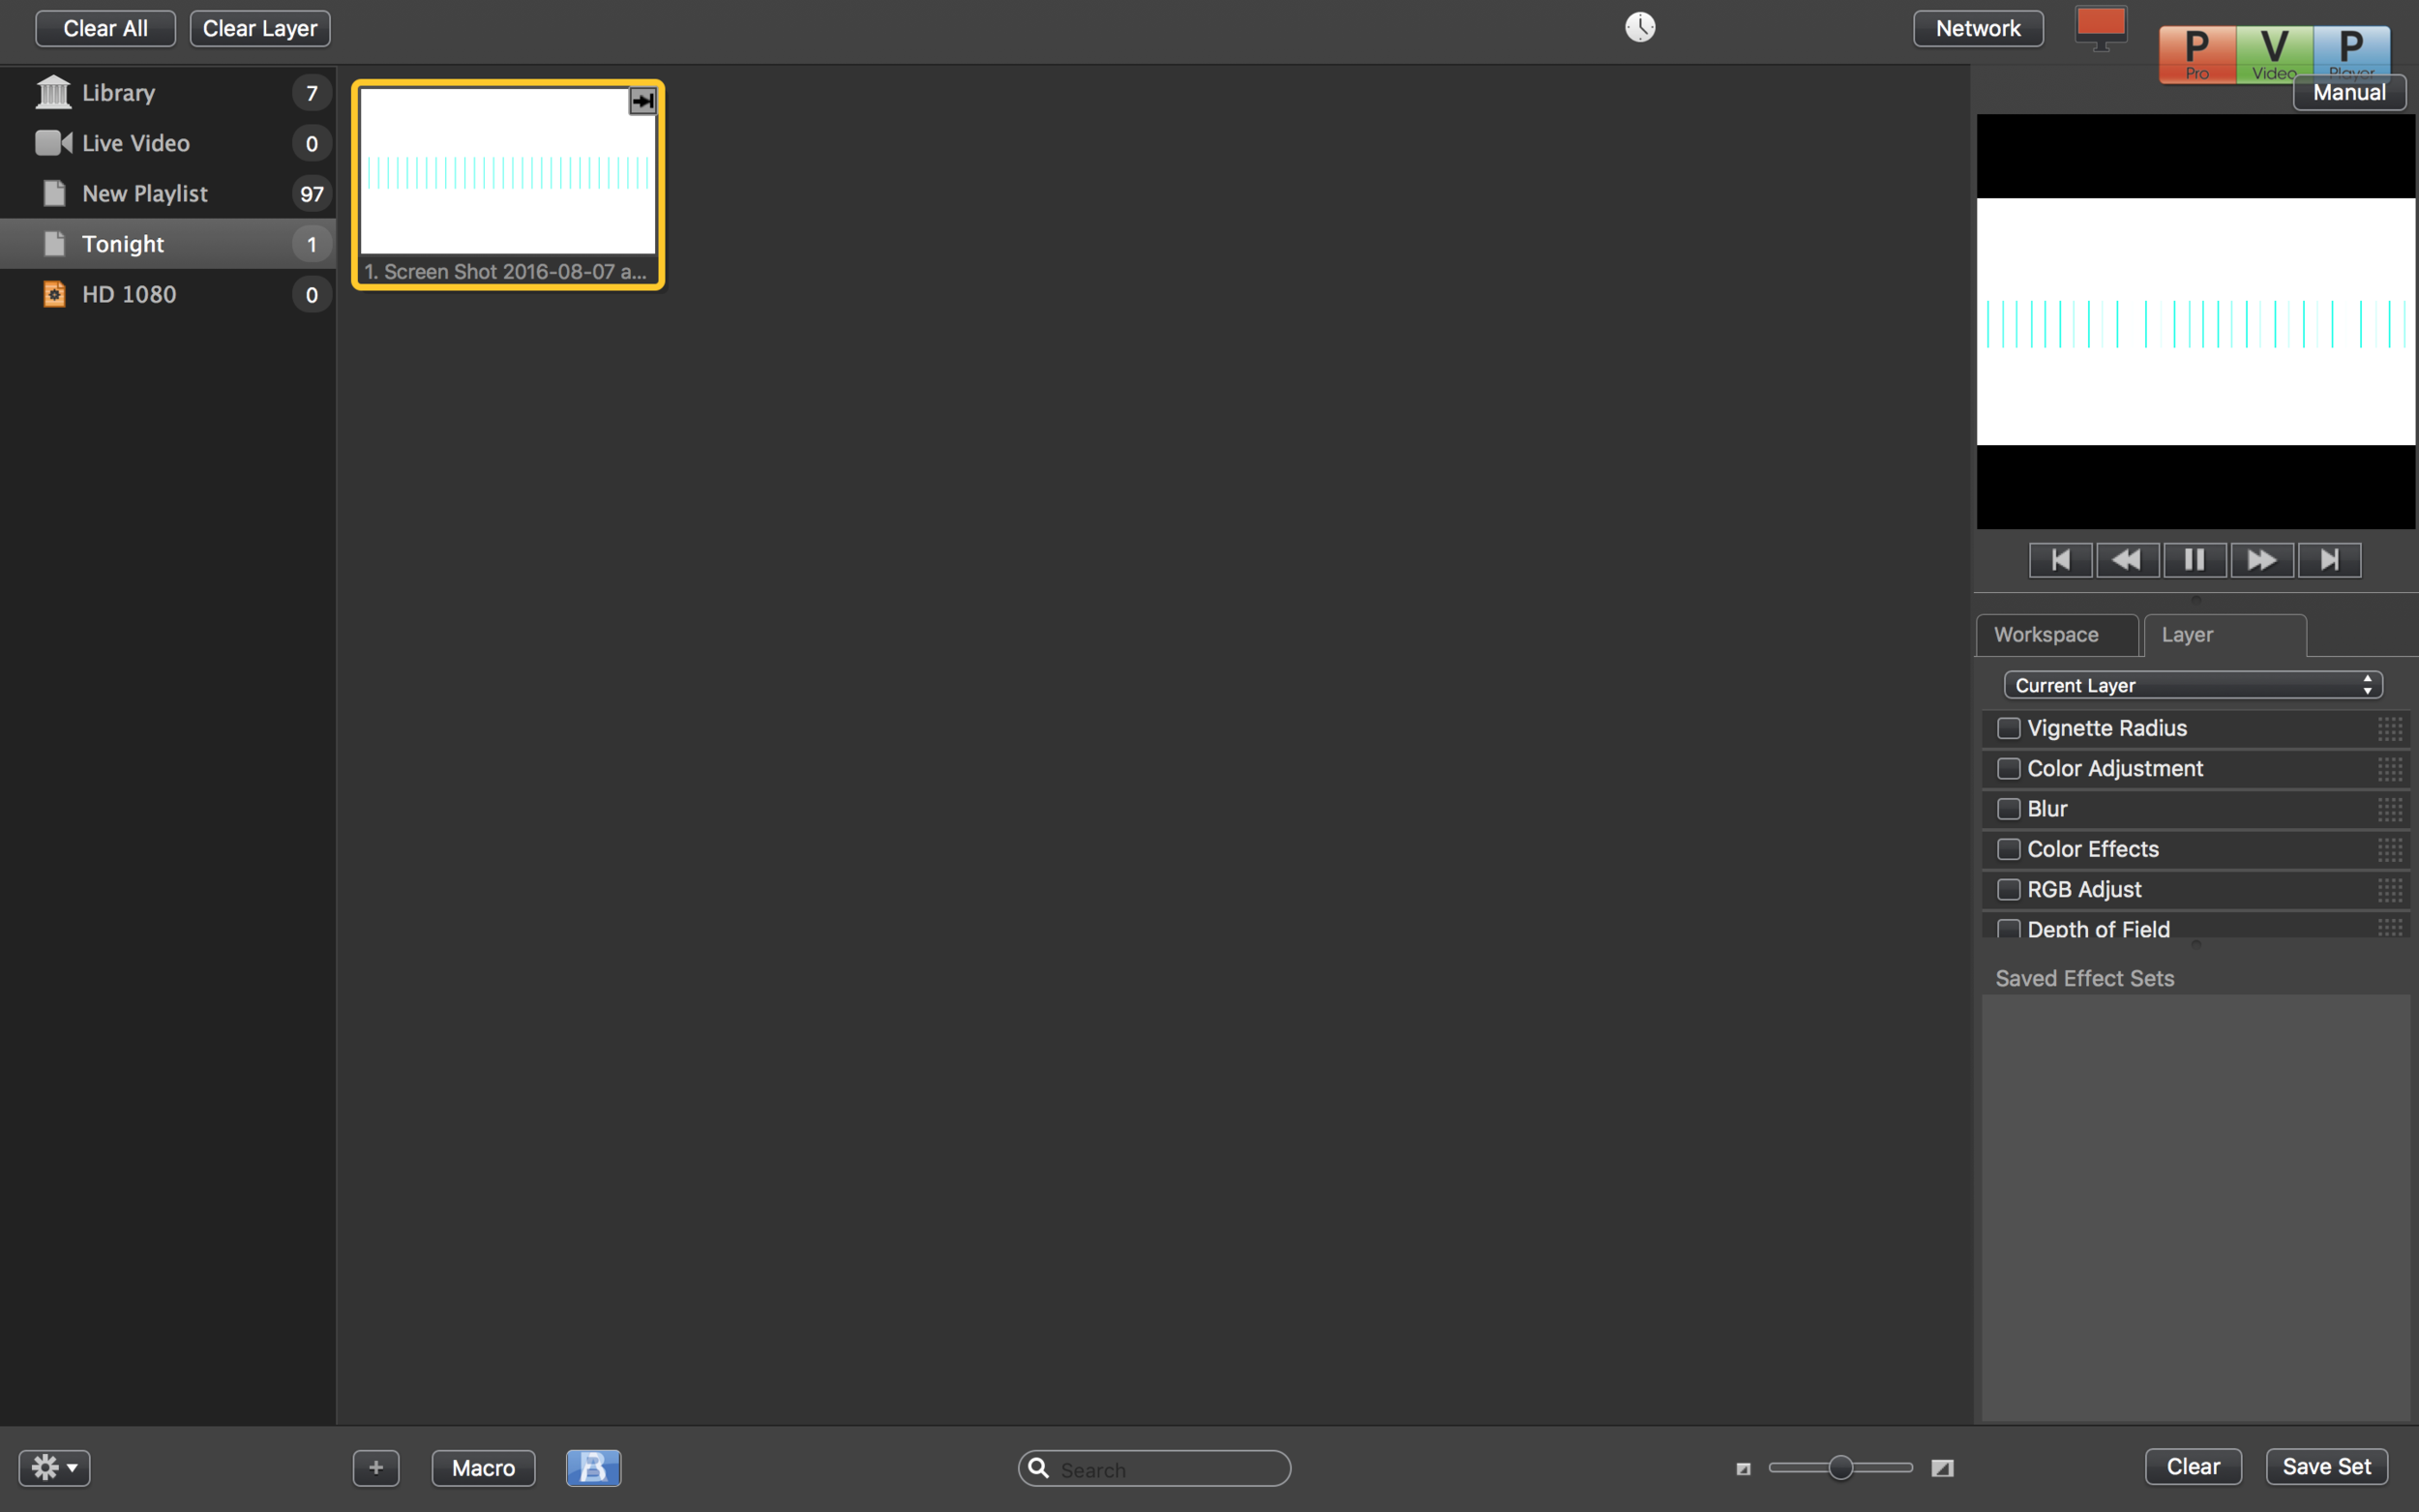
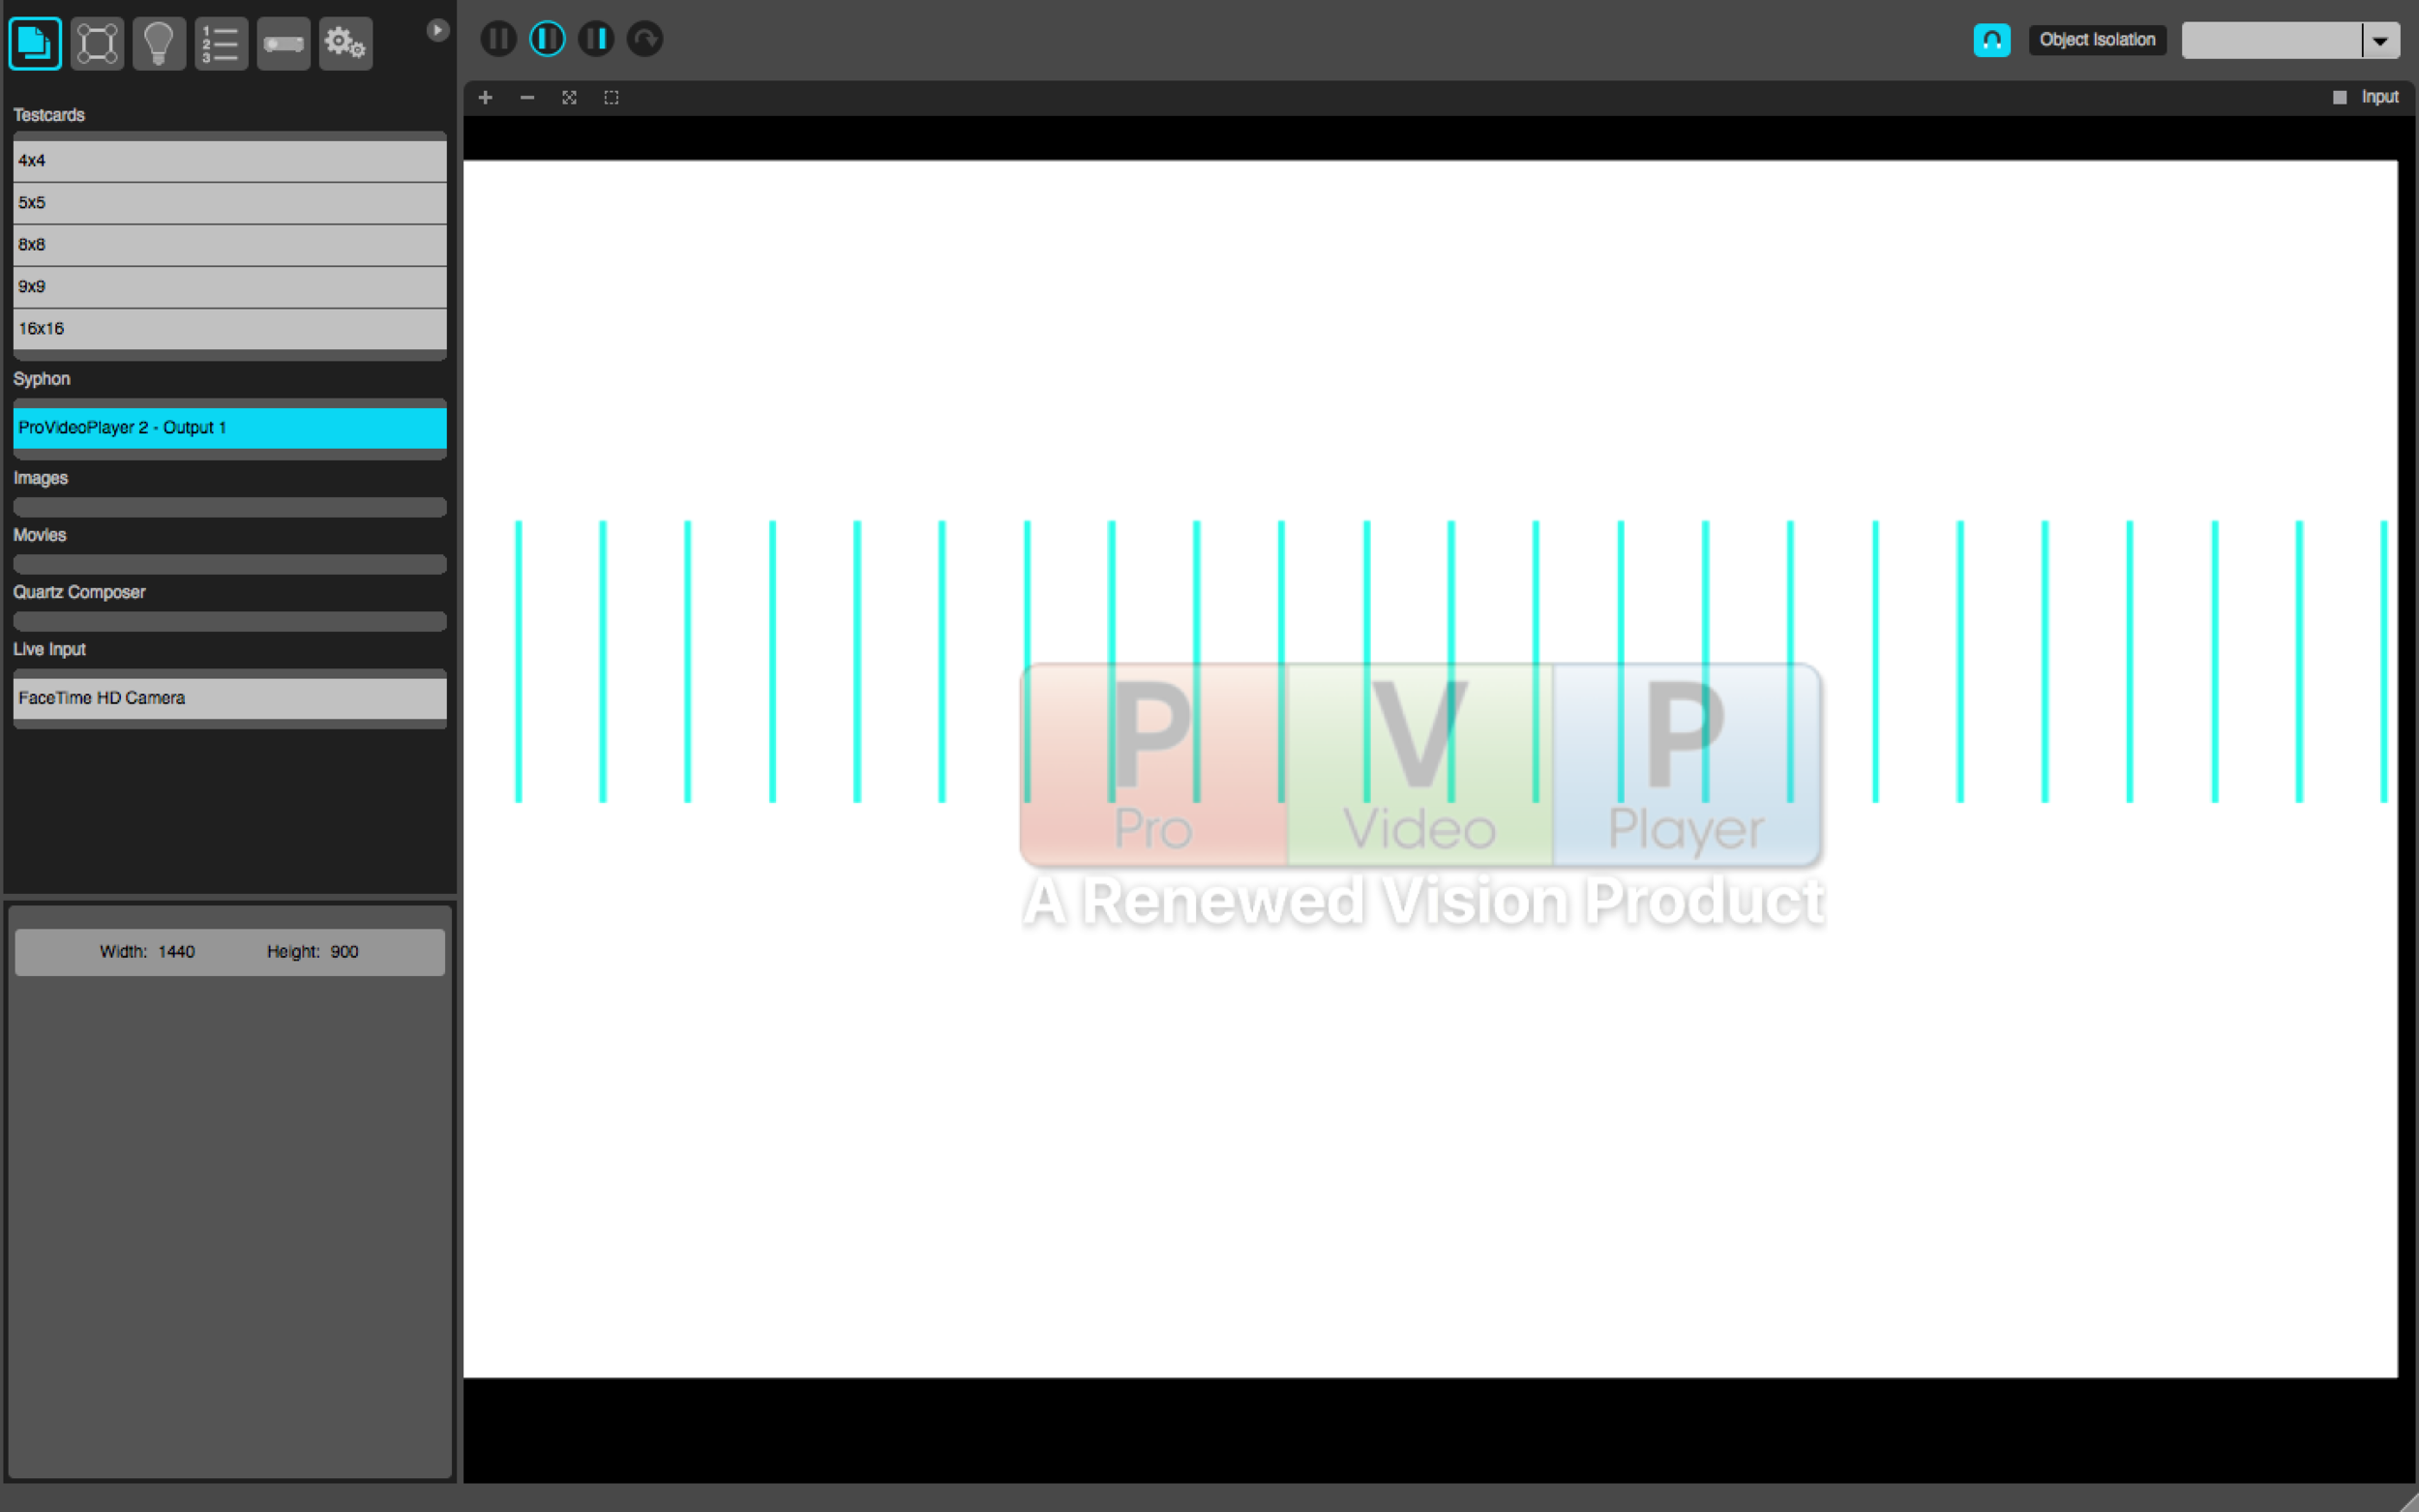
Next open MadMapper, then PVP2. In MadMapper's input list select PVP2 (or ProPres) under syphon. This set the output to to start mapping.
Play the template in PVP so that it would show up in MadMappers output window. This helps to align the LEDs to the content
Once ready to start adding fixtures to the light plot, click on the lightbulb to open up the fixture menu.
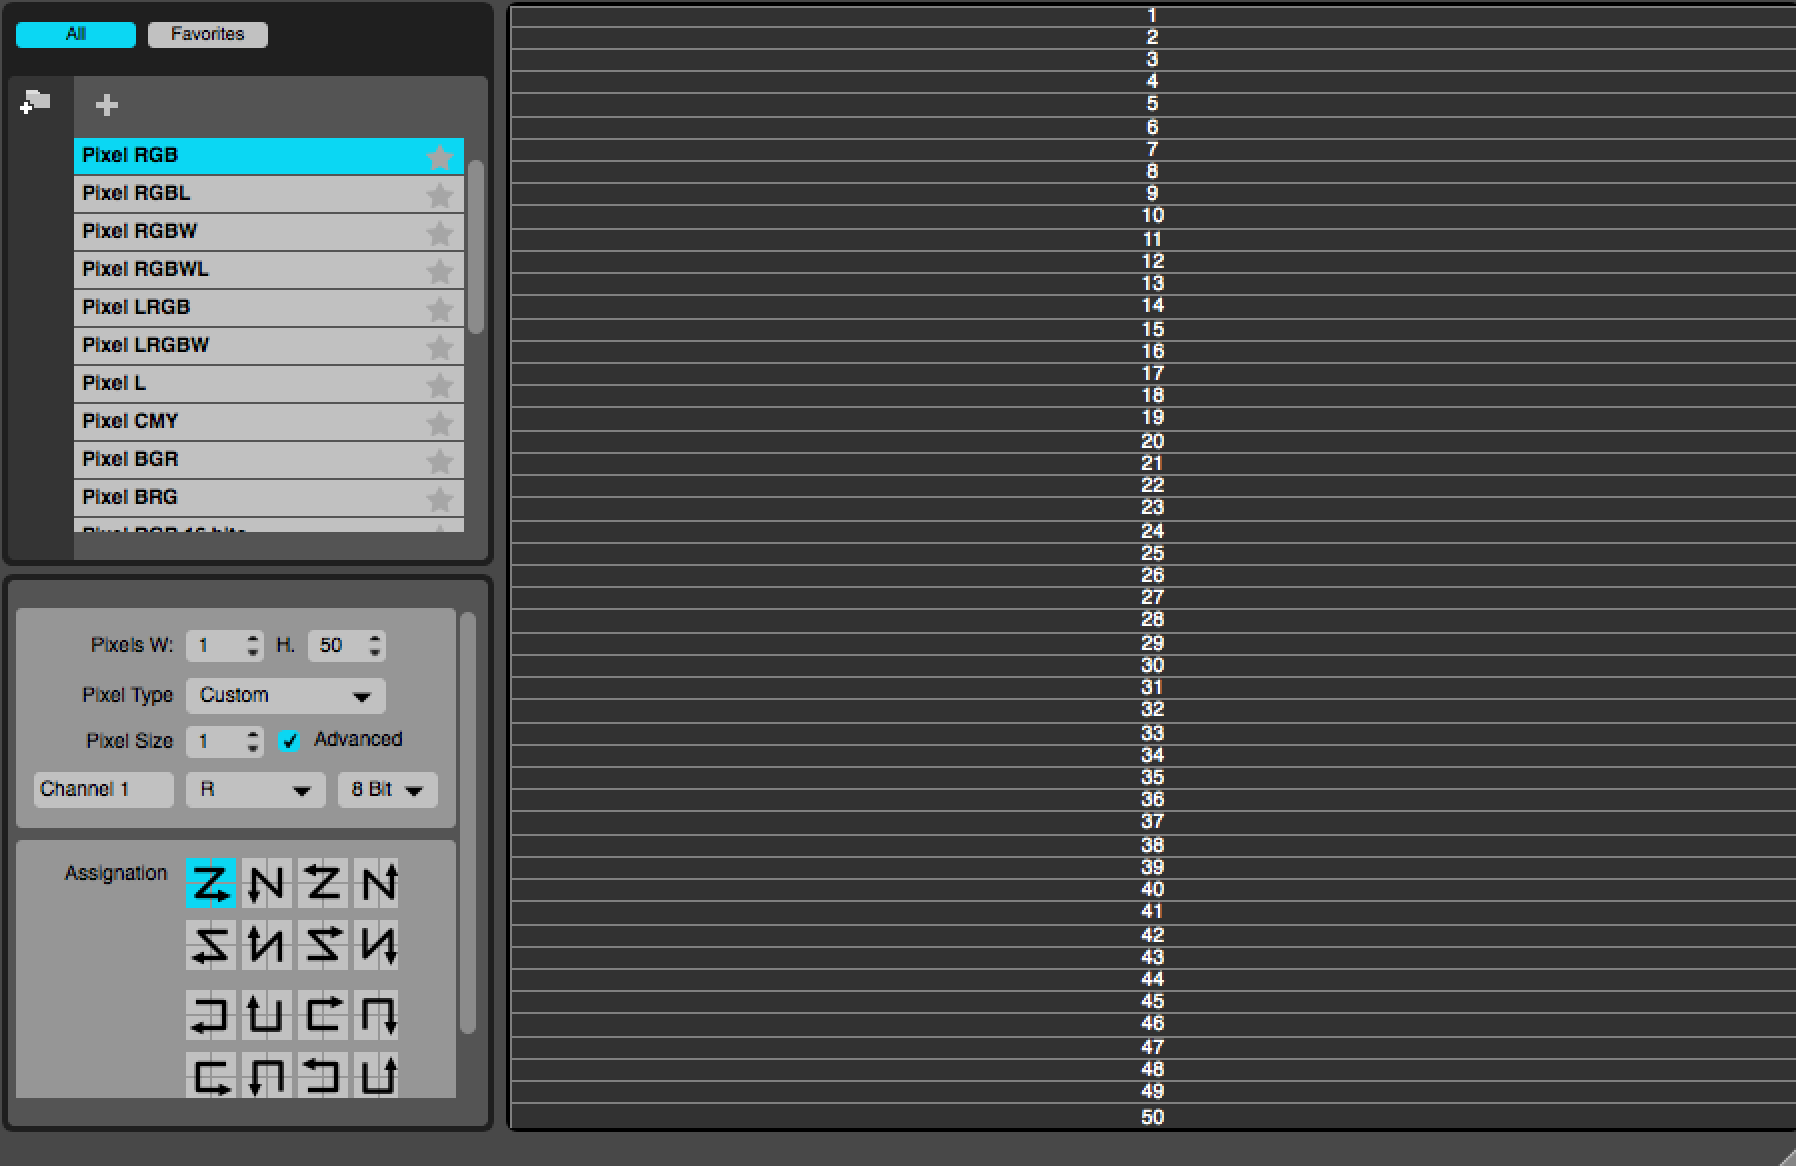
Click the DMX+ and it will add a fixture to the list. The Epix strips are 1x50 RGB pixel strips so they'll need to be edited in the 'fixture library' window. Set the pixel dimension 1w x 50h, then adjusted the pixel size to 3 as the EPIX are RGB pixels.
Next step is addressing. Since each of the epix strips are 50 RGB pixels, each fixture is 150dmx addresses. This first fixture starts at 1, second fixture would start at 151. After addressing the first fixture, resize and drag into place. To save time, duplicate the fixture (cmd-d) then drag into place according to the plot. When duplicating, the next fixture will auto address to the next available address.
The plot ended up looking like this:
Once your done mapping (assuming the fixtures have already been addressed) the LEDs should controllable by the 'media server' (PVP, ProPres, etc)
Comment below if you have any questions!.


